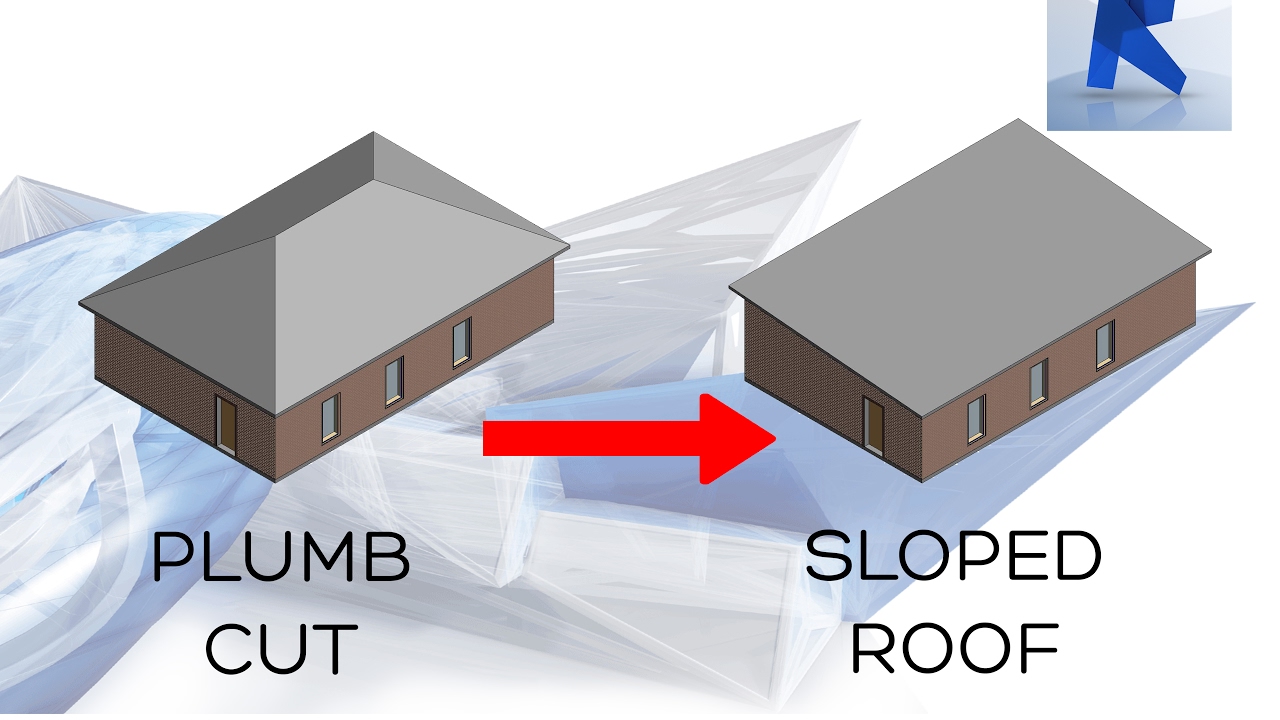
How To Make A Slanted Roof In Revit

Revit Roof Basics 10 Slope Arrow Cadclips Youtube

Revit Tutorials Roofs Youtube
Revit 2017 Sloped Roof Create A Sloped Roof Easy Youtube
Autodesk Revit Architecture Creating A Sloped Roof Youtube

9 Tips To Understand Revit Roofs Revit Pure

Revit Sloped Beam System Cadclip Youtube

Define a sloped edge to a sketch line.
How to make a slanted roof in revit.

Sloped Wall In Revit Youtube

Revit Sloped Glazing Youtube

Revit Create Slanted Walls The Easy Way Youtube

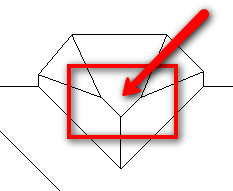
Solved Revit Sloping A Gable Roof Autodesk Community Revit Products

Revit Tips Creating Rafters With Beam System Youtube

Revit Roof Basics 04 Intersect By Roof Join Cadclips Youtube

Adding Dormer Window To A Sloping Roof Youtube

10 Common Roof Shapes Modeld In Revit Tutorial Youtube

Revit Tutorials Skylights Youtube

How To Create A Thatch Roof In Revit Micrographics Thatched Roof Thatch Roof

Flat Roofs In Revit Tutorial Youtube

Split Gable Roof Autodesk Community Revit Products
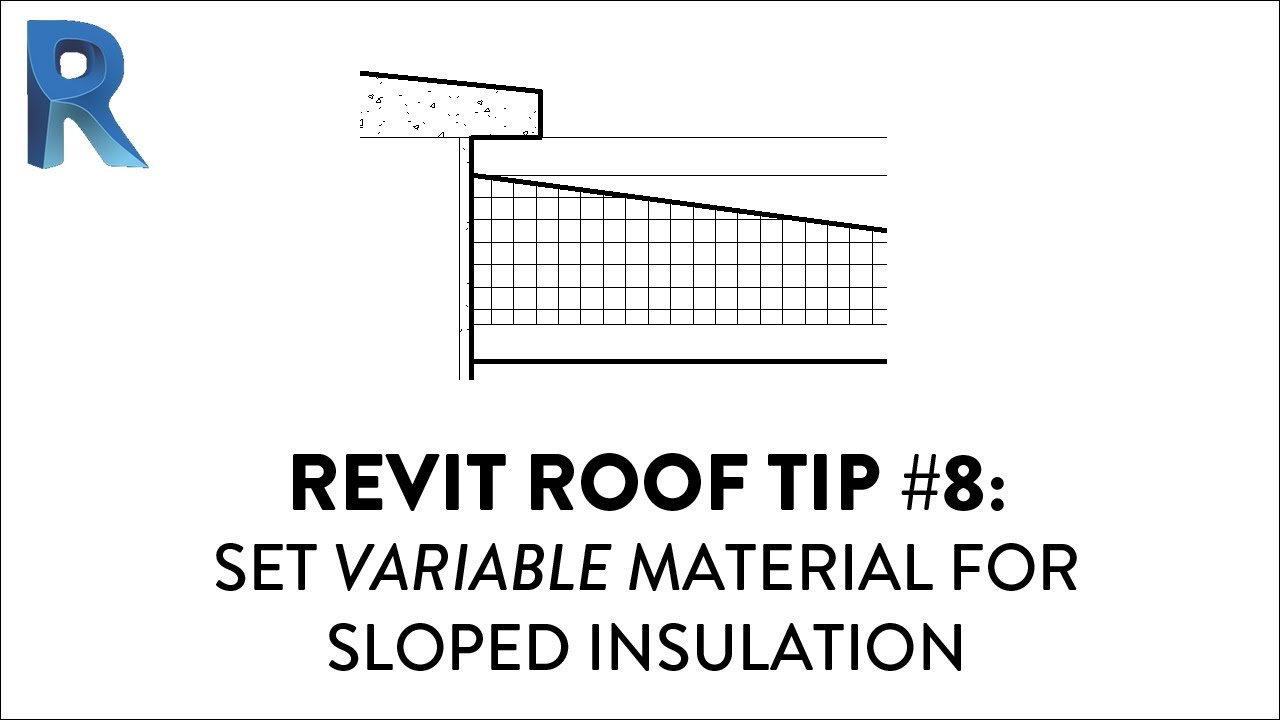
Revit Roof Tip 8 Set Variable Material For Sloped Insulation Youtube

Revit Adding A Curtain Wall On A Floor Or Roof Cadtechseminars Com Youtube

Revit Structure Sloped Flat Roof Cadclips Youtube

3 Complex Roof Shapes In Revit Youtube

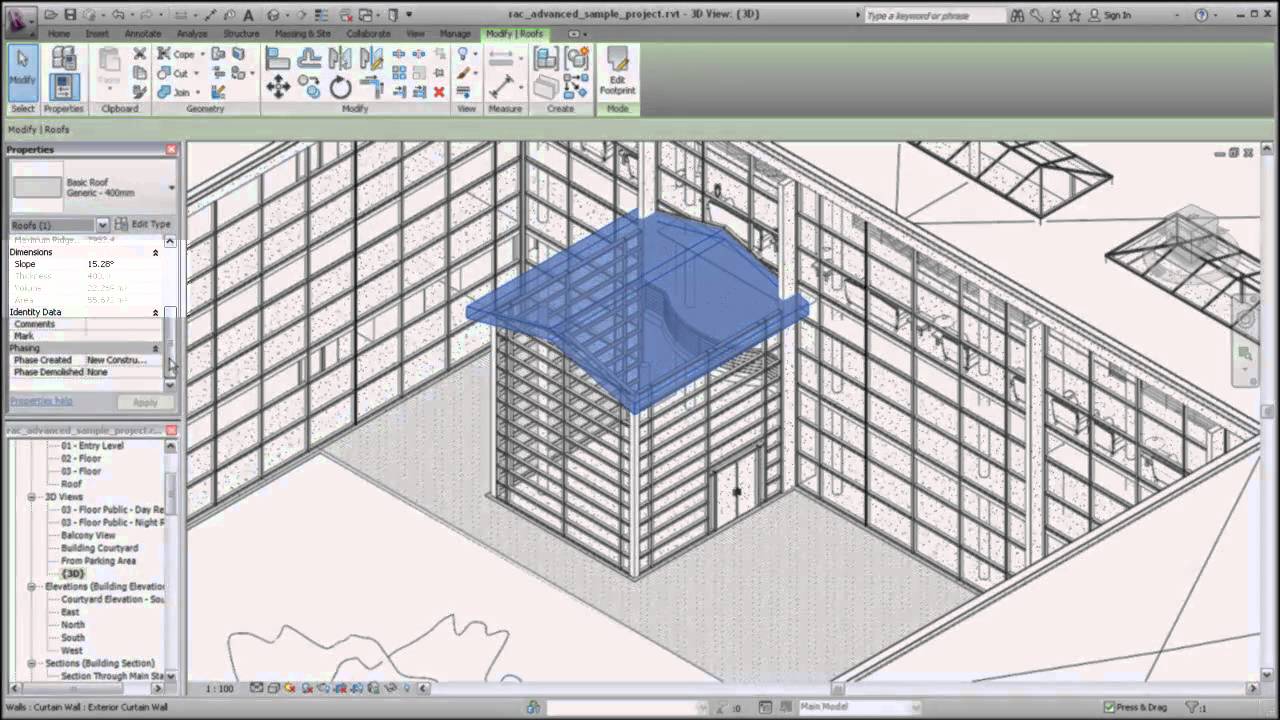
Revit 2019 Ceilings And Roofs Episode 3 Slope Arrow And Joining Roofs Youtube
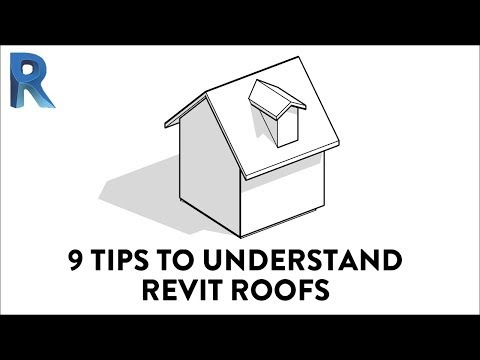
9 Tips To Understand Revit Roofs Youtube
Https Encrypted Tbn0 Gstatic Com Images Q Tbn 3aand9gcqt Jag1pa Hofhz 59fqg8i0feamtfelr0xlmsrdq6chiqvxbg Usqp Cau

Adding A Roof In Revit Youtube

Revit Roof Cleaning Up Overlapping Roofs Youtube
Video Shape Editing Roof And Floor Slabs Revit Products 2019 Autodesk Knowledge Network

Solved Best Practice For Tapered Roof Or Floor Autodesk Community Revit Products

Create Roof Trusses With Purlins In Revit Youtube

Solved 2 Slopes Ceiling Autodesk Community Revit Products

8 Tips To Create Sloped Roofs In Revit Revit Pure Roofing Glass Roof Roof Shapes
Video Create A Dormer Revit Products 2020 Autodesk Knowledge Network

Revit Roof Tip 1 Remove Slope To Create Flat Roof Youtube

Autodesk Revit Corrugated Sheeting Youtube

Revit Roof Tip 7 Use Shape Editing To Create Flat Roof Slope Youtube

Revit Roof Tip 2 Activate Slope To Create Sloped Roof Youtube

About Editing Floor And Roof Shape Revit Products 2019 Autodesk Knowledge Network
Solved How To Align A Line In Edit Profile Mode To A Sloped Plane Autodesk Community Revit Products
Creating Complex Roof In Revit Cadnotes

Solved Sloped Curtain Roof Autodesk Community Revit Products

Revit Architecture Spanish Roof Tile In Revit Plus Download Link Youtube

Several Residential Commercial Buildings As Well As Other Wood Framed Roofs Contain Clipped Gable Ends Also Know Building Information Modeling Roof Gable Roof

Flat Roof And Parapet Sweep Youtube

Create A Roof By Footprint Revit Products Autodesk Knowledge Network

Solved Greenhouse Style Curtain Wall Best Way Autodesk Community Revit Products
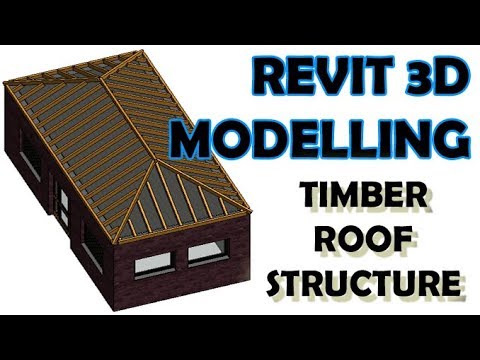
Revit 3d Modelling Timber Roof Structure Youtube

Creating Complex Roofs In Revit 2014 Building Information Modeling Revit Architecture Roof
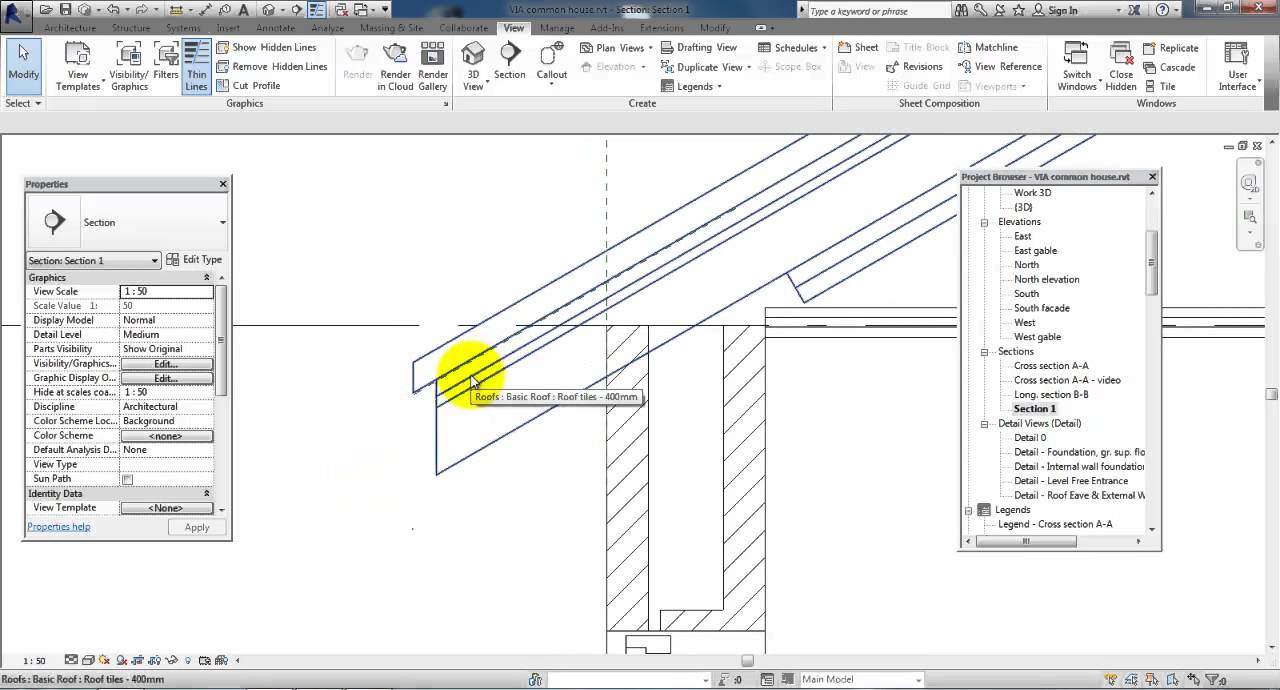
Revit 2014 Roof Eaves And External Wall Youtube
Https Encrypted Tbn0 Gstatic Com Images Q Tbn 3aand9gcq7uhgwxuxjhm5rh5elydqe6u7kmfi2bhyky0k2pod3z Ijolxw Usqp Cau
Source : pinterest.com
