How To Tile Brick Pattern Wall

Your Guide To Tile Pattern Layouts Brick Tiles Bathroom Tile Layout Patterns Tile Bathroom

How To Create Random Walls And Floors With Crossmap Bercontile Vizpark Tile Layout Subway Tile Patterns Diy Backsplash

12x24 Horizontal Tile Brick Pattern Shower Patterned Bathroom Tiles Brick Pattern Tile Tile Layout

Brick Pattern Tile Layout Tile Layout Subway Backsplash Brick Pattern Tile

Our Bathroom Facelift Tile Bathroom Bathroom Tub Subway Tiles Bathroom

Bathroom Tiles Design Bathroomtilecleaningbrush Tile Bathroom Patterned Bathroom Tiles Shower Tile Patterns

This is a clean and classic layout for subway tiles on walls and floors.
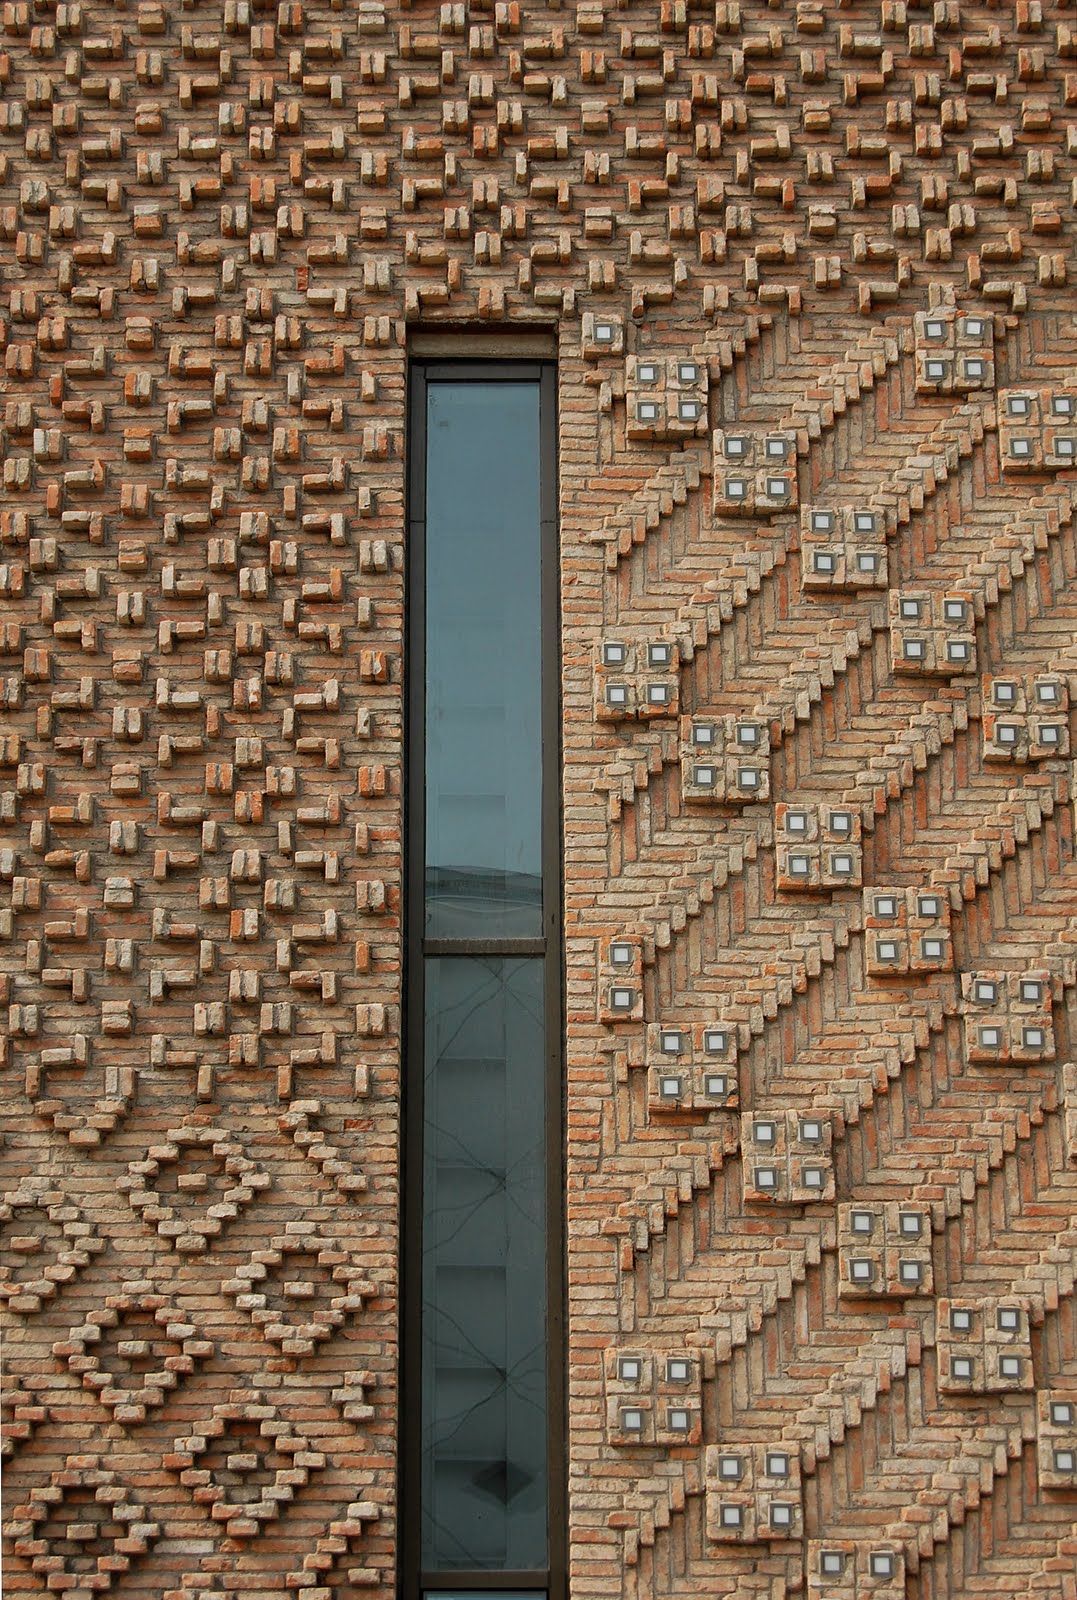
How to tile brick pattern wall.

12x24 Tile Installed Horizontal Brick Pattern Rain Head Tile Bathroom Brick Patterns Tile Installation

Am Dolce Vita Subway Tile Stacked Or Brick Pattern Tile Bathroom Patterned Bathroom Tiles Bathroom Wall Tile

I Designed This Shower Using 12 X 24 Tiles In A Subway Layout The Tiles Go Above The Window Kitchen Design Styles Tile Design Pattern Tuscan Kitchen Design

30x30cm Living Room Home Decor Wall Sticker Brick Pattern Tile 3d Self Adhesive Fashion Home Wall Stickers Brick Wall Stickers Home Decor Wall Stickers Tiles

Walls Tiles Reference Guide Vizpark Tile Patterns Wall Tiles Brick Patterns

Shower Square Tiles Laid In Brick Pattern Large Squares On Walls Small On Floor Brick Pattern Tile Brick Patterns Shower Tile Patterns

Brick Pattern Tile Sale On Tile Patterns Stacked Tile Pattern Patterned Floor Tiles Floor Patterns Brick Laying

Ivy Hill Tile 4 In X 8 In Pitzy Brick Castel Del Monte White Pearl Mini Brick Pattern Floor And Wall Tile Sample Ext3rd103212 The Home Depot Splashback Tiles White Pearl
Pattern Potential Subway Backsplash Tile Tile Layout Subway Backsplash Brick Pattern Tile

Mobile Splashback Tiles Brick Pattern Tile Mosaic Flooring

Glossy White Brick Tile Walls Glossy White Tile Pattern Flooring Brick Tiles Patterned Floor Tiles Brick Tile Wall

Seamless White Brick Pattern Brick Tile Backsplash White Brick Tiles Brick Patterns

Google Image Result For Http Www Decorateyourspace Net Designstrategies Wordp Shower Remodel Shower Remodel Diy Small Shower Remodel

12 X 24 Porcelain Tile In Brick Lay Pattern Brick Laying Tile Patterns Tile Floor

Walk In Shower Features Walls Clad In White Square Tiles Set In Brick Pattern Alongside A Polished Nickel Sho White Tile Shower Shower Tile Designs Shower Tile

Brick Pattern With Square Tile Brick Patterns Square Tile Bath Remodel

Brick Pattern For Square Tile Kitchen Floor Grey 30x30 Tiles With Narrow Grout Lines Also Grey Tile Layout Tile Layout Patterns Tile Design

Tile Floor Patterns To Spark Your Bathroom Tile Design Ideas Tile Design Pattern Patterned Floor Tiles Floor Pattern Design
Https Encrypted Tbn0 Gstatic Com Images Q Tbn 3aand9gcrnqii9xsqqxpaaoc0huazwhlesv07dnmh9ragxn1k Usqp Cau

Pvc 3d Wall Panels White Brick Wall Tiles 19 7 X 19 7 12 Pack 3d Wall Panels Brick Wall Paneling Vinyl Wall Panels

Ming Green Marble Tile In Brick Pattern For Beautiful Wall Ideas Green Tile Backsplash Green Backsplash Ming Green Tile

This High Resolution Seamless Brick Wall Tiles Texture Is Available For Download At Wildtextures Com Tiles Texture Brick Tiles Brick Texture

Ceramic Brick Tiles Architextures Brick Ceramic Tile Brick Texture Paving Design

Ivy Hill Tile Contempo Blue Gray Brick Pattern Glass Mosaic Floor And Wall Tile 3 In X 6 In X 8 Mm Tile Sample Ext3rd102534 Mosaic Wall Tiles Mosaic Flooring Splashback Tiles

Green Marble Floors Ming Green Marble Tile In Brick Pattern For Beautiful Wall Ideas Photos Green Tile Backsplash Ming Green Tile Green Marble Bathroom

Brick Pattern Tile Sale On Tile Patterns Stacked Tile Pattern Tile Patterns Brick Patterns Patterned Floor Tiles

Polished 12x24 Vertical Brick Pattern Wall Tile With A Modern Slate Mosaic For The Shower Floor In 2020 Modern Bathroom Renovations Shower Wall Tile Large Shower Tile

Large Herringbone Tile Google Search Glazed Brick Tiles Brick Tiles Glazed Brick

Interiors White Square Tiles Brick Pattern Graphite Grout Really Like The Sq In Brick Pattern Kitchen Inspirations White Wall Tiles Home Kitchens

Image Result For 600x300 Tiles Brick Pattern White Tile Bathroom Walls White Bathroom Tiles White Wall Tiles

Flemish Bond Brick Google Search Brick Bonds Brick Detail Brick Texture

Rafterhouse Life Happens Here White Tile Shower Tile Bathroom Bathroom Wall Tile

Ivy Hill Tile Baroque Pearls Mini Brick Pattern Pearl Glass Floor And Wall Tile 3 In X 6 In Tile Sample Ext3rd103211 Stone Mosaic Tile Tile Samples Brick Pattern Tile

20 Brick Wall Textures Brick Backgrounds In 2020 Brick Texture Cladding Sheets Brick Wall

Pattern Tiling Fields Tile Field 2 X 6 Brick Pattern Tile Tile Layout Patterns Subway Tile Patterns

Smot Brick Dur Durango Cream Brick Pattern Subway Tile 2x4 Travertin Travertine Tile Travertine Travertine Tile Backsplash
An Entry From Cana Brick Design Brick Tiles Brick Decor

Free Stained Brick Wall Seamless Texture Stained Brick Brick Wall Textured Walls

Interior Slate Tile With Brick Pattern Wall Interior Design Rukle Impressive Tiles Design For Living Room Wall Interiores Interiores Design Living

Another Wall Technique Lego Lego Design Lego Wall

Image Result For Staggered Brickwork Pattern Subway Tile Patterns Tile Layout 12x24 Tile Patterns

Tileable Grey Brick Wall Texture Maps Texturise Free Seamless Textures With Maps Brick Texture Textured Carpet Textured Walls

Exquisite 12x12 Chantilly Eq11 Brick Joint Wall Tile Patterned Bathroom Tiles Shower Wall Tile Shower Tile
Https Encrypted Tbn0 Gstatic Com Images Q Tbn 3aand9gcrrwotmfd9 Rdmjv8x2jjlcnpti1limocwogjab7zt Tpjm2 Ke Usqp Cau
Source : pinterest.com
